
When I set out to begin this project, I didn’t realize that it would become such a beast…. In a good way. The important part of the design would be to really understand what my client’s needs were – and in essence, they were (1) Storage (2) Display and (3) Study/Work Space.
My client had invested in a beautiful 2-story addition to her home in Downtown Plymouth, the additional space was what she needed for her family and to entertain friends, but it just had piles of stuff everywhere, with no where to store away anything.
Over the course of the past few months I have focused on four areas….
- The back hall/mudroom/laundry area – to give her a place to hang coats, put away (a lot of) shoes, place bookbags and sports gear so they were not piled on the floor by the door, as well as a good place to keep the dogs food and water bowls so they had plenty of place to eat and drink.
- The second part was the dining area in need of a console table where she could keep glasses and dishes for special occasions.
- The third was a combination of a banquette for the living room to manage blankets and a place for extra guests to sit by the window.
- And the fourth was the addition itself – adding a large wall unit on one entire wall to address most of the challenges with storage and display, as well as reworking existing furniture, adding new as well as addressing a lot of electronics and gear that needed a home to go to away from view.
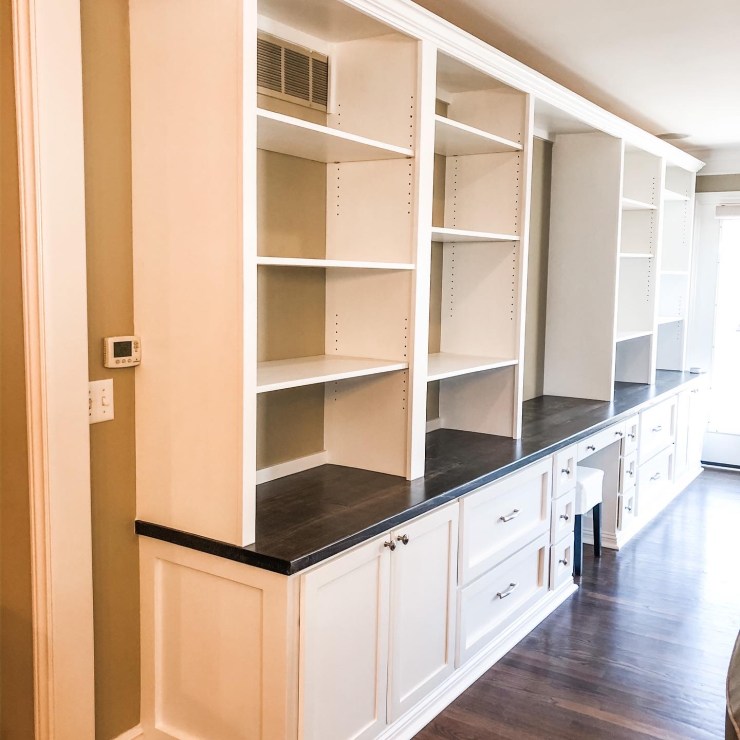
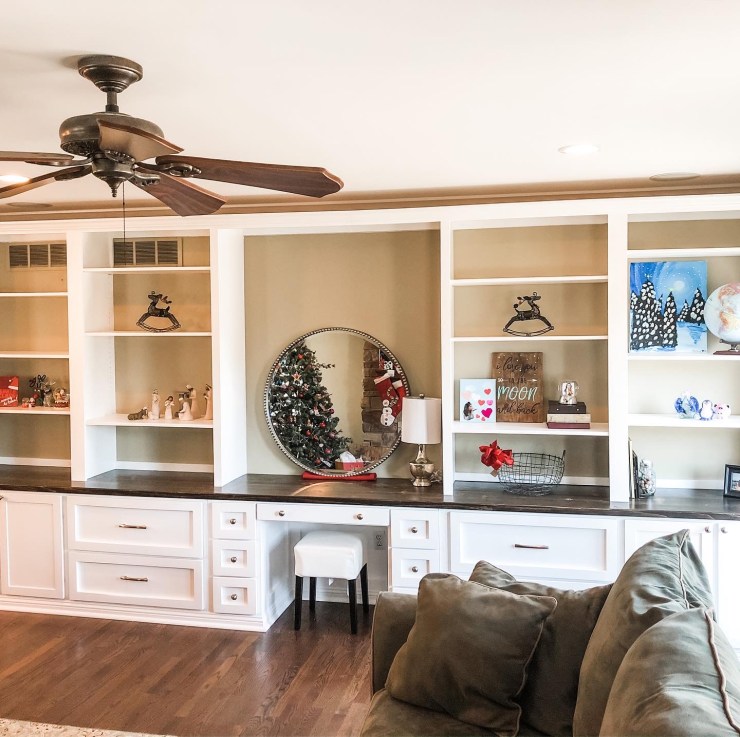
Today I am going to focus on THE BEAST – which I affectionally call it. The wall unit really is a take on the library wall unit that I grew up with. It has large drawers and cupboards that hold and store games, blankets, books and everything imaginable. The difference from a standard home library is that I integrated a desk area within the wall unit for her daughter, to be able to effectively do her homework and store her pens and paper, rulers and glue, etc. out of the way in an organized fashion.
The upper 4 units consist of open shelving to display family treasures and other creative pieces from their travels that were boxed up and out of the way during the renovation. My goal was to address these challenges in one area, but not being so overwhelming that it took over the space. Most importantly, it needed to effectively integrate with the other furniture on the main floor as the entire space is now open from front to back door, kitchen to dining, living room to family room.
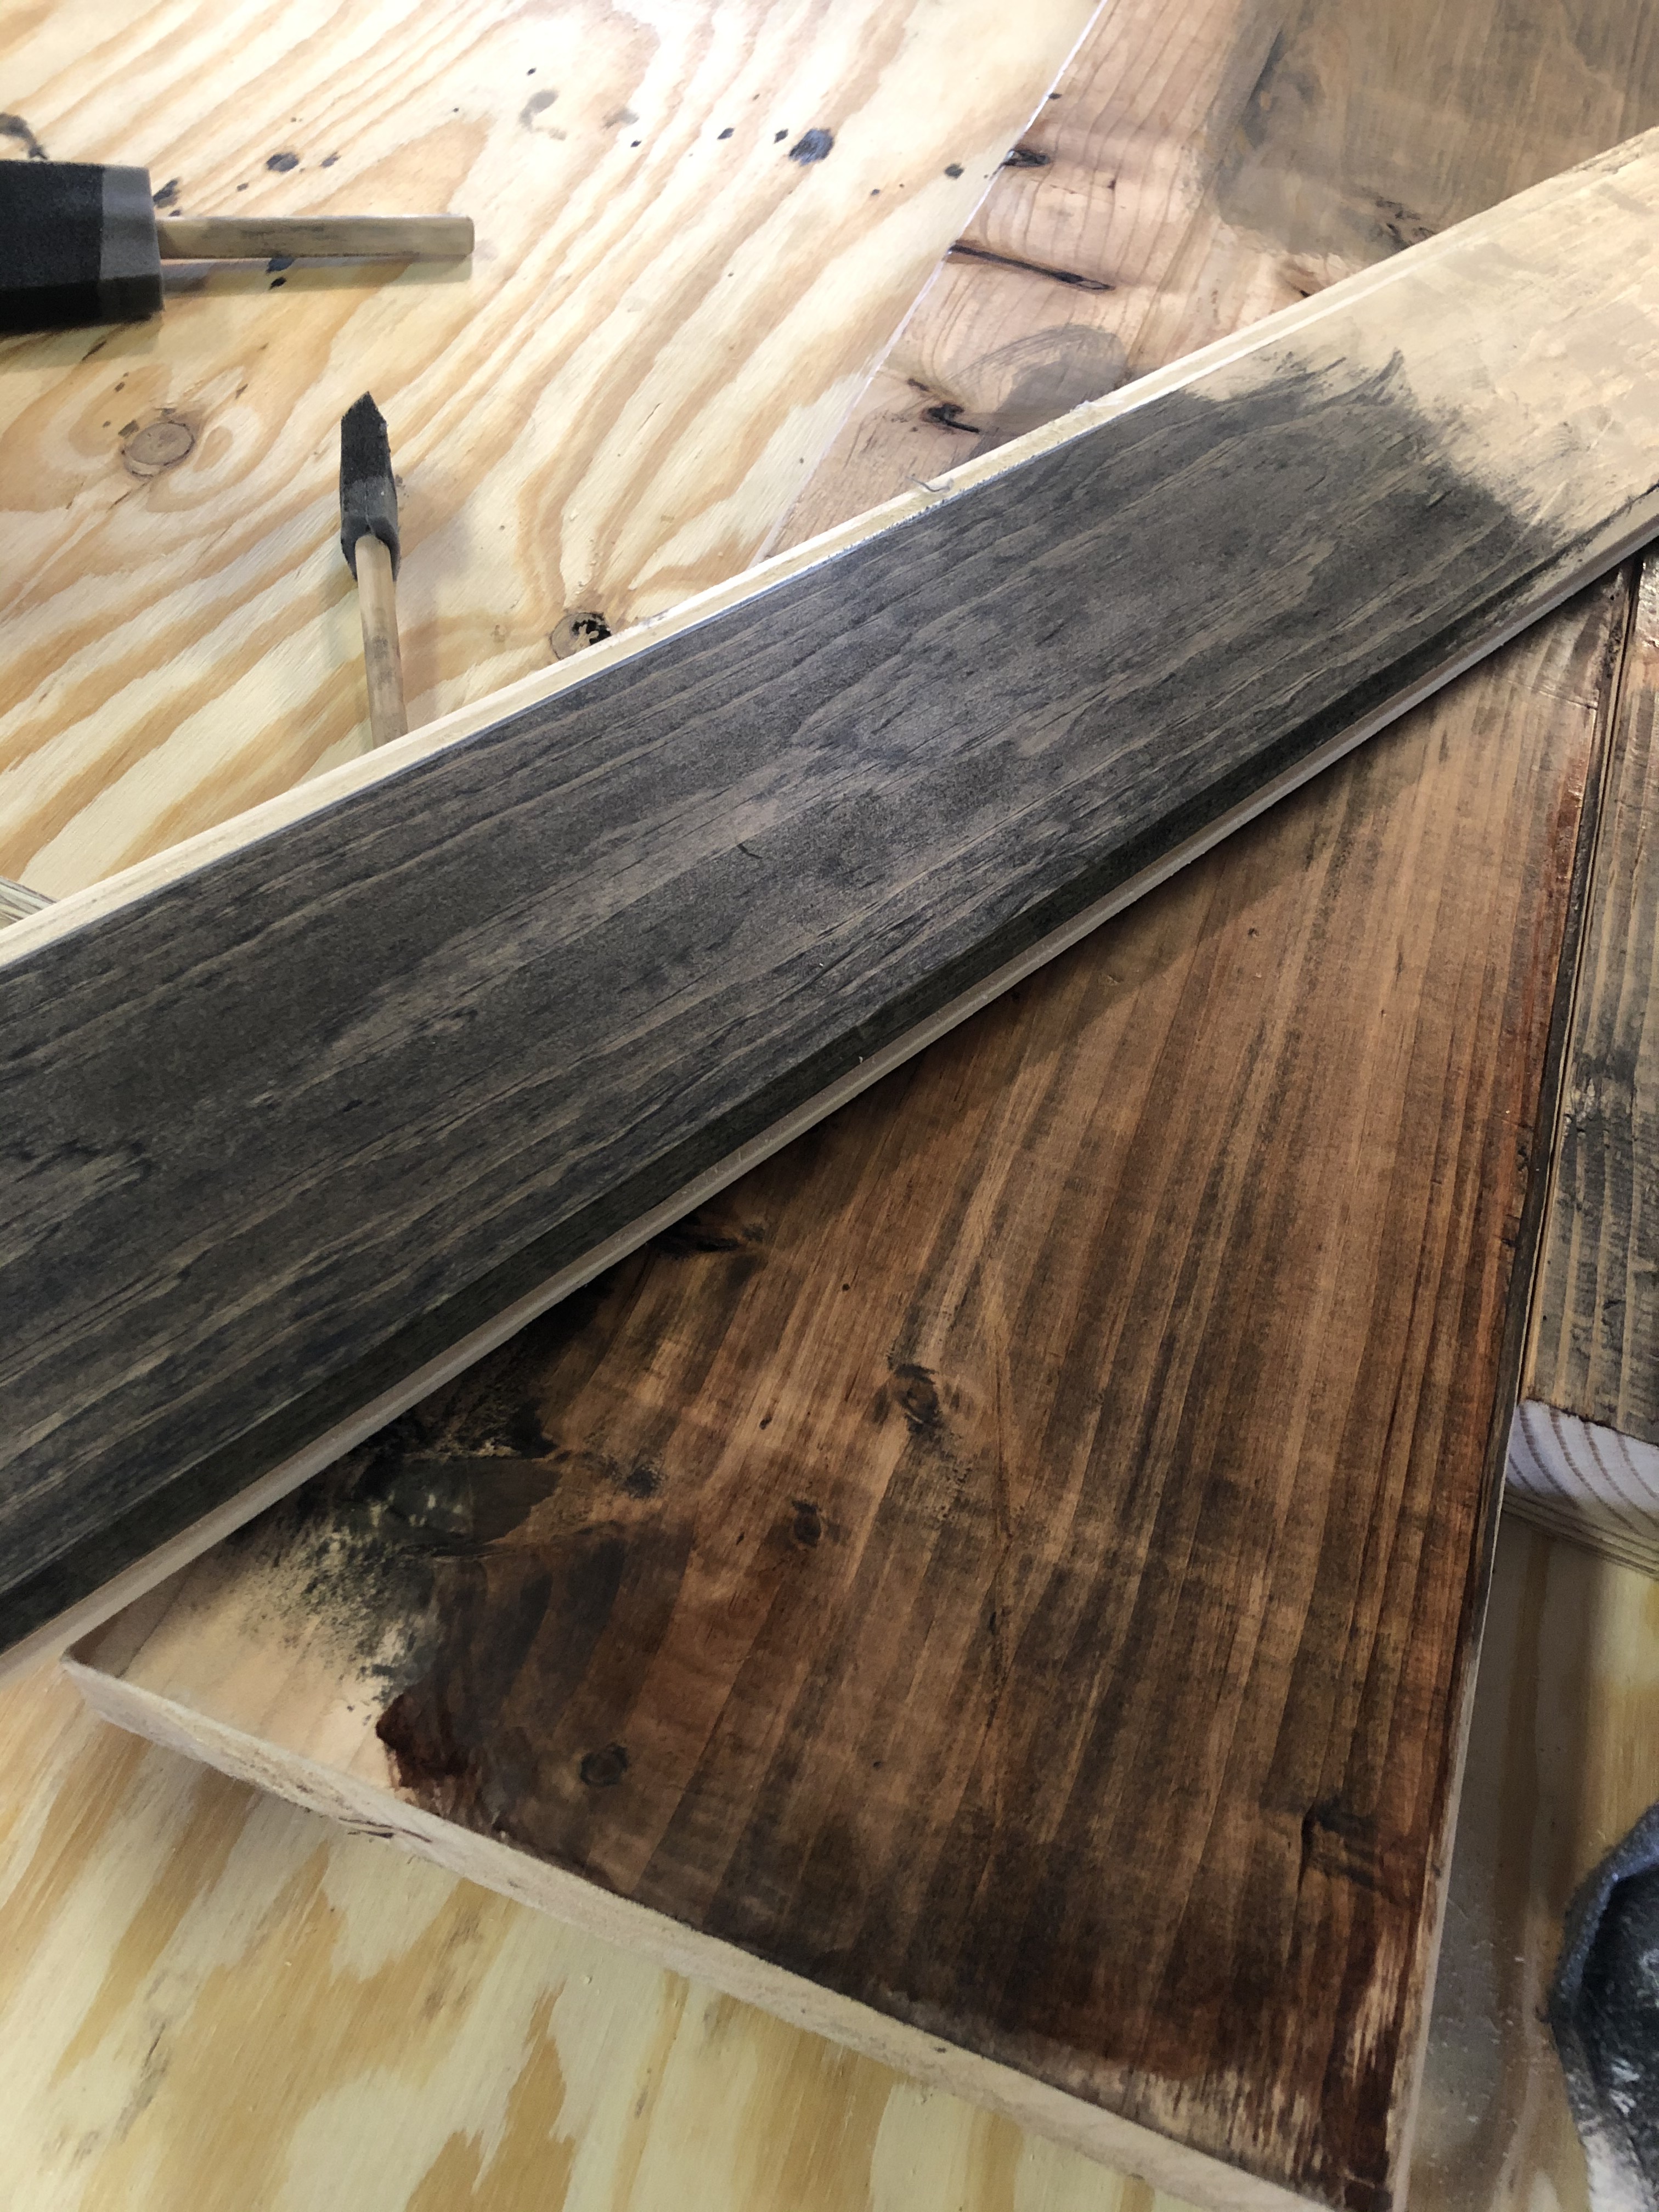
My client has a number of furniture pieces that are large and have a solid dark stain to the wood. I came up with an idea to actually run a single wood plank down the length of the 16-foot wall unit that would cohesively connect all of the bookcases and drawer units together tying them in with the rest of the furniture in the space throughout the main floor.
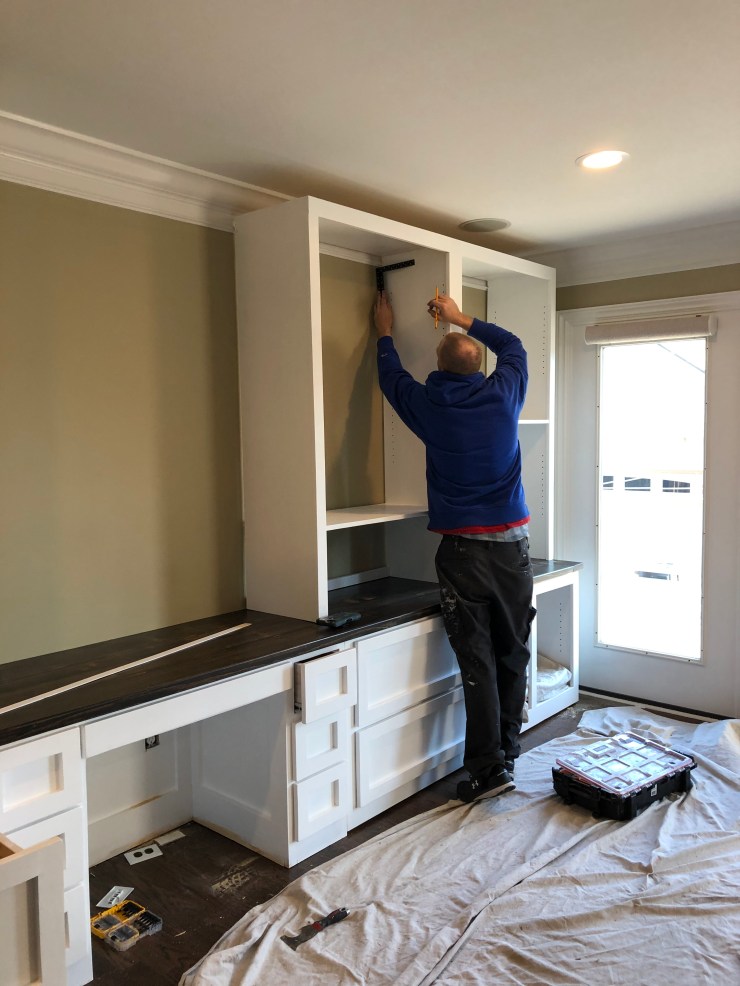
I decided that a Shaker style door/drawer combination would be a good aesthetic that would tie in naturally within the space. In addition, we integrated in the current crown and base moldings from the addition, so the piece looked as if it had been there as originally conceived during the build of the house addition.
The four large drawers feature soft-close so they could not be slammed or closed hard, and protect the wood drawers for the long term. In addition to protect the desktop area, we added a piece of glass to the desk area section for her daughter to effectively work and not affect or rub off the stain over time with general use.
Speaking of stain, I went out to Mason, Michigan…. The home and workshop of my finished carpenter, Justin to collaborate on the build as well as work on the stain together to get it to the correct color. I wanted to ensure a correct color before he applied a triple polyurethane coating to protect its surface. We ended up with a combination of 3 separate stains that blended really well into the existing hardwood floors of the house, but were not “matchy matchy”.
As you can see in the photos, I believe that we really came up with a great 3-stain combination which achieved just that. Sometimes it is just worth getting in the car and making the trip to ensure you will be happy with the end result.


When it came to installation day – installation day turned into “days”. The build was challenging enough, but the onsite installation was not only a jigsaw puzzle, but also required areas where we had to work around electrical outlets as well as the HVAC cold air return. This was all planned for, but Justin my carpenter, is a perfectionist and he wanted it perfect. And I really appreciated this as it will be there for a very long time to come!

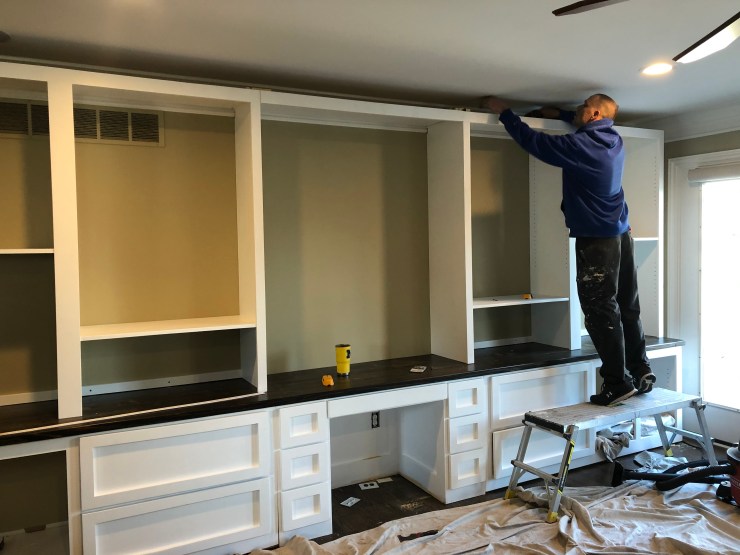
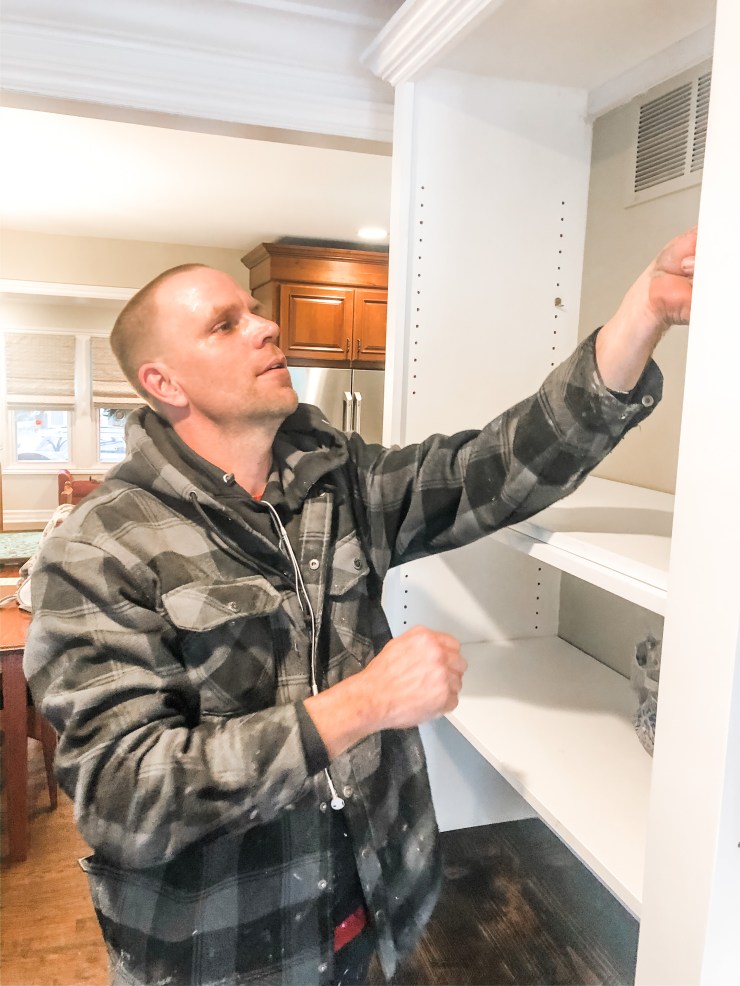


After the installation, we are adding pinspot lighting over the desk area as well as moving the electrical outlet up to above desk height. One important feature of the wall unit was that I wanted to make sure that the upper shelves did not have a back on them…. I wanted to see the beautiful sage paint behind. This was important so that visually the room did not lose size and it added another dimension to the space.
There are still décor items to arrange, the actual bench for the desk is a leather tufted piece and currently on order and the round mirror leaning here has not been hung up yet… but this gives you an idea of the space and how it will be used.
The finished result is really quite impressive…. From my initial sketches and measurements to collaborating with Justin on the overall build, the finished piece is just lovely – and most importantly, my client loves it and is proud to have it in her home.

